
I decided to step up a complexity level for my Christmas project this year and have a go at building a Retro Computer. Initially I was going to do something based around the 1802 processor but as I already have one of these running I thought to try something a bit different. Having grown up very much as a Z80 person I have never done much with 6800 series processors so decided now was a good a time as any to rectify this omission! After a bit of looking around I landed on the 6303 from Hitachi, this is essentially a Motorola 6803. This has an extended 6800 compatible command set with a bit of RAM and peripheral IO all on a single chip. The 6303 is also a lot easier to source and work with than the original 6800 making it a good choice. Addionally I had found a couple of examples of other 6303 DIY computers online which helped a lot in terms of filling the gaps in the official documentation.
To avoid creeping features, for once I spent a bit of time thinking about what I wanted the computer to do and more importantly what it didn’t need to do. For instance I wanted to interface some form of keypad and display, but did not need much additional IO beyond that. The same with memory 8K RAM & 8K EPROM would be fine, no need to cater for further expansion. the 6303 includes a basic serial interface so no need to include a separate UART chip. initially I was going to include a separate 6 digit display but swapped to the 16×2 line LCD you can see in the finished computer when I realized I could just fit it on the board, with the interface logic underneath.
Specification
- Processor – 6303 clocking @ 1.2288MHz (4.9152MHz external crystal divided by four)
- RAM – 8K (0000-2FFF)
- EPROM 8K (E000 – FFFF), 16K selectable via onboard links
- Ports
- On CPU 1x5bit 1x8bit (inc a serial port)
- External 1 x 8 bit input (for keyboard interface)
- External 1 x 8 bit output, connected to LCD
- Power 5V at less than 100mA
To make initial code development a easier i’m using a 28C64 EEPROM rather than a traditional ERPOM. This has greatly reduced test cycle time over using an EPROM!
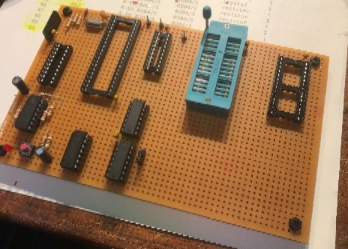
In terms of the physical build I decided early on to use strip board,

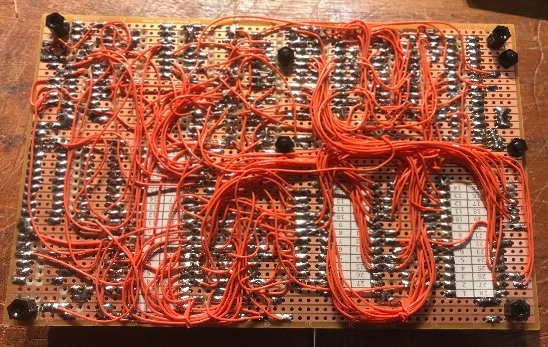
initially I was looking to use a Vero wiring pen to make the interconnections but in the end opted for more tradition link wires all be it with PTFE insulated cable. This does not melt if you accidently catch it with the soldering iron making things a lot easier when as the wiring gets more congested.
Given I was building this over Christmas when getting replacements is hard I was very focused on not accidently damaging any ICs through wiring errors, to this end unusually for me I was very disciplined in checking for continuity and shorts before plugging anything in! This combined with proving out bits as I finished them meant I was relatively confident of the existing build each time I wired in new a element. The only real problem I had was with the LCD display which turned out to be a faulty display rather than an error on my part – I ended up stripping it out and wiring up to a Arduino to confirm this. It is also fair to say having a good digital scope was a big help, particularly getting the reset timing sorted out (mode selection on 6303 takes place as part of the reset sequence so getting the timing right is important).
I have been using an online assembler called asm80 to write test software, this is a great tool supporting development of a number of 8bit processors including an IDE and emulator. At some stage I do need to move on a different assembler as asm80 does have a few eccentricities in terms how it emulates 6800 code (in fairness it was originally written for the Z80) and does not support the extended 6801 codes available on the 6303. That said asm80 is very easy to use so I will stick with it for now.
The next stage is to sort out a basic keypad, most likely based around an Arduino or PIC, to avoid putting the scanning overhead on the 6303. After that I want to develop / adapt a simple monitor program, mainly this will act as a bootstrap to facilitate loading software via the built in serial port. Finally once I have firmed up on the size of the keypad, clearly some form of enclosure is needed – something custom made in wood I suspect.
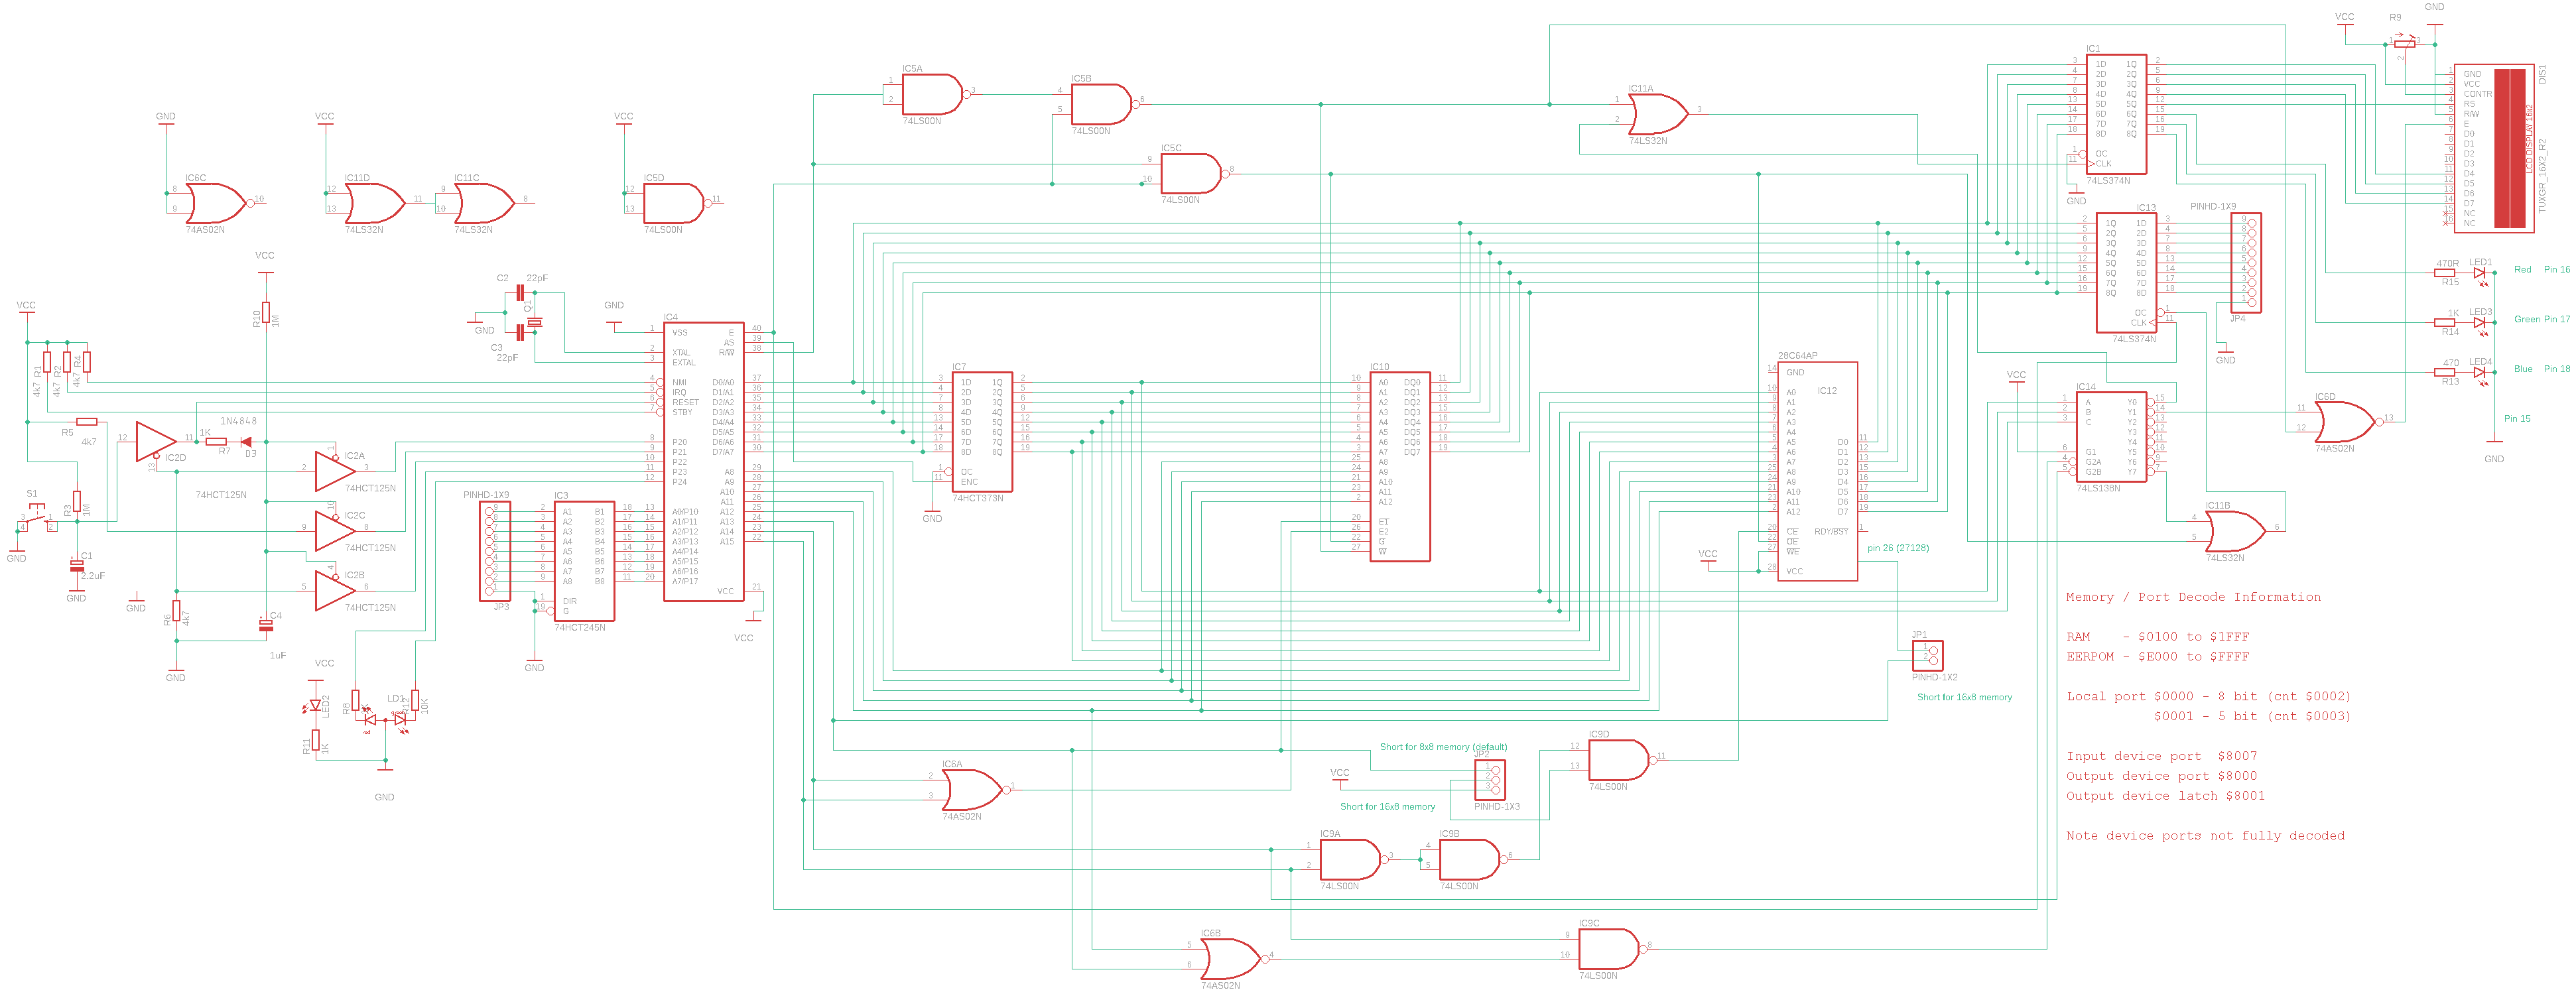
Schematic
Credits
Daniel’s bits, bytes & pieces , this was a really useful block documenting Daniel’s build of a 6303 based computer, first got me looking at a 6303 as the processor choice
asm80 support a number of 8 bit processors providing assembler, IDE and emulator
How to strip PTFE wire – the clue to use heatshrink tube on a pair of pliers was a game changer
Other links that I have found useful will be added in time a dedicated 6800 section of the blog
